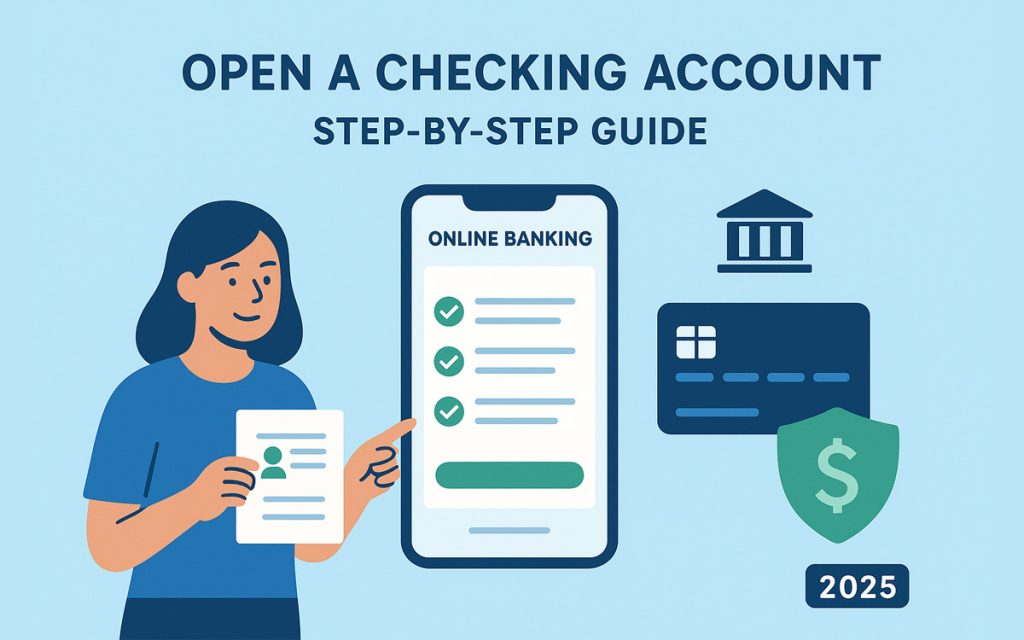
Opening a checking account is one of the first steps toward managing your money effectively. Whether you’re opening your first account, switching to a new bank, or setting up a joint account, the process is straightforward once you know what’s required.
In this guide, we’ll walk you through everything you need to know to open a checking account in the US, UK, or Canada—including the requirements, documents, and tips to avoid common mistakes.

Step 1: Choose the Right Type of Checking Account
Before you apply, decide what kind of checking account fits your needs:
- Standard Checking – Basic everyday account for bills and purchases.
- Free Checking – No monthly fees if requirements are met.
- Online Checking – Managed entirely online or via mobile app.
- Student Checking – Tailored for students with fewer fees.
- Joint Checking – Shared account for couples or family members.
- Business Checking – Designed for entrepreneurs and small businesses.
Tip: Always compare fees, features, and perks before choosing.
Step 2: Gather the Required Documents
Banks require identification and financial details to verify your identity. Typical documents include:
- Government-issued photo ID (passport, driver’s license, or national ID).
- Proof of address (utility bill, lease, or official mail).
- Social Security Number (US) / National Insurance Number (UK) / Social Insurance Number (Canada).
- Initial deposit (varies by bank, sometimes $0–$100).
Step 3: Apply Online or In-Person
Today, most banks allow you to open an account online in minutes. Here’s how:
- Online application: Visit the bank’s website, fill out the form, upload ID, and fund your account.
- In-person application: Go to a branch with your documents and complete the process with a banker.
Online banks are faster, but traditional banks may offer more in-person support.
Step 4: Make Your First Deposit
Some banks require a minimum opening deposit, which could be as little as $0 or up to $100+. Online banks often have no minimum deposit.
Tip: If you’re switching banks, transfer funds from your old checking account during this step.
Step 5: Set Up Account Features
After approval, activate the following services:
- Debit card – Linked to your checking account for purchases.
- Online banking & mobile app – To manage money on the go.
- Direct deposit – Set up paycheck deposits with your employer.
- Bill pay – Automate recurring payments (rent, utilities, loans).
- Overdraft protection – Link to savings or credit to avoid fees.
Step 6: Fund and Use Your Account Safely
Once your account is active:
- Keep track of balances to avoid overdrafts.
- Use alerts/notifications to monitor transactions.
- Regularly review bank statements for errors.
Common Mistakes to Avoid
- Not comparing fees – Some accounts charge $10–$15 monthly if requirements aren’t met.
- Ignoring ATM access – Out-of-network ATMs can cost $2–$5 per withdrawal.
- Skipping overdraft protection – Overdraft fees can add up quickly.
- Using savings for daily spending – Checking should handle daily transactions.
FAQs About Opening a Checking Account
Can I open a checking account with bad credit?
Yes. Many banks offer second-chance checking accounts for people rebuilding their financial history.
Can I open a checking account without an SSN (US)?
Some banks accept an ITIN (Individual Taxpayer Identification Number) instead.
How long does it take to open a checking account?
Online: usually a few minutes. In-branch: 30–60 minutes.
Conclusion
Opening a checking account is simple when you know the steps. By choosing the right account, preparing your documents, and setting up features like direct deposit and bill pay, you’ll be ready to manage your money more efficiently.
Next Steps: Compare banks and find the best checking account options for your needs.


